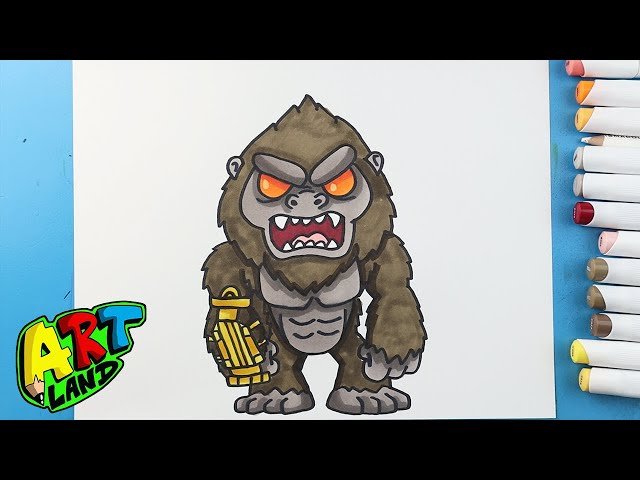
King Kong is one of the most iconic movie monsters of all time, known for his massive size, raw power, and expressive face. Drawing King Kong can be a rewarding challenge, whether you’re an aspiring artist, a comic book enthusiast, or just a fan of this legendary ape. With the right techniques and a little patience, you can bring King Kong to life on paper.
In this guide, we’ll walk you through the entire process of drawing King Kong, from the basic structure to adding fine details. You’ll learn How to Draw King Kong capture his muscular form, fierce expression, and dynamic pose. So, grab your pencils, and let’s get started!
Step 1: Gathering Your Tools and Reference Images
Essential Drawing Supplies
Before you begin, make sure you have the right materials. While you can draw King Kong with just a simple pencil and paper, having the following tools can improve your artwork:
- Sketchbook or drawing paper
- Pencils (HB for sketching, 2B-6B for shading)
- Eraser (kneaded erasers work best for highlights)
- Fine liners or ink pens for detailing
- Blending tools (tissues, blending stumps, or even cotton swabs)
Using Reference Images
To make your drawing more accurate, study different images of King Kong. Watch movie stills, look at comic book adaptations, and observe how professional artists depict him. Focus on:
- His muscular build
- Facial expressions
- Fur texture and shading
- Proportions compared to humans and buildings
Having a strong reference will help you get the details just right.
Step 2: Sketching the Basic Structure
Starting with Simple Shapes
Begin by lightly sketching the basic structure of King Kong using simple shapes. This will serve as the foundation for your drawing:
- Draw an oval for the head
- Use circles and ovals for the chest and shoulders
- Sketch long, thick arms and powerful legs using cylinders
- Position his hands and feet to show movement
Keeping it light and loose will allow you to adjust proportions as you go.
Establishing the Pose
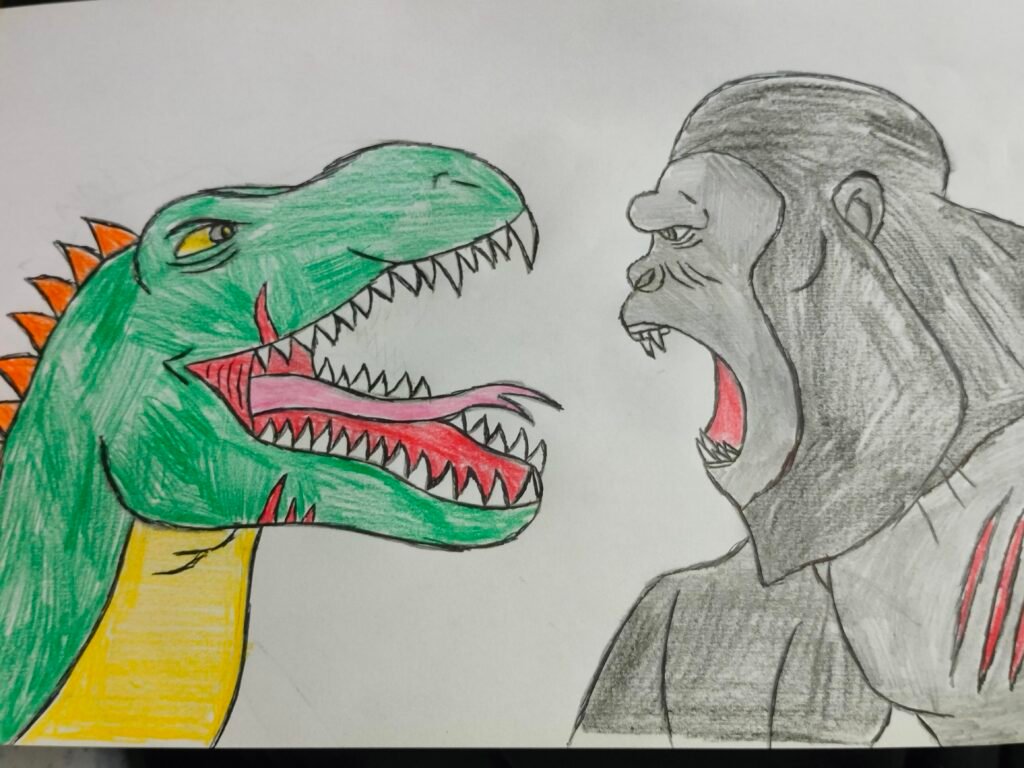
Decide what kind of pose you want King Kong to have. Here are some common ones:
- Standing tall, roaring to the sky
- Beating his chest in an aggressive stance
- Climbing a building with one arm gripping the structure
- Charging forward with intense energy
A dynamic pose will add more life to your drawing.
Step 3: Refining the Outline
Defining Muscles and Body Structure
Once the basic framework is done, start refining the shape of King Kong:
- Sketch the details of his face, including furrowed brows, deep-set eyes, and a snarling mouth.
- Add muscular definition to his arms, chest, and legs.
- Refine his hands and fingers, making them large and expressive.
- Shape the contours of his fur, keeping it rough and wild.
Making Adjustments
Compare your drawing to your reference images and adjust proportions as needed. Ensure his head isn’t too small or his arms aren’t too long. King Kong should look massive and powerful but still proportional
Step 4: Adding Facial Details
Drawing the Eyes and Expression
King Kong’s face is one of the most important parts of the drawing. It conveys his emotions, whether he’s angry, sad, or determined.
- Start with his eyes, making them intense and focused.
- Add deep lines around his brows to create a furrowed expression.
- Shape his nose and nostrils, giving them depth.
- Draw his mouth, either roaring or snarling, with detailed teeth and a tongue.
Bringing Out Personality
Unlike regular apes, King Kong has more human-like expressions. Think about what emotion you want to capture in your drawing. His face should be fierce but also convey intelligence.
Step 5: Adding Fur Texture and Depth
Sketching the Fur
King Kong is covered in thick fur, so adding texture is crucial:
- Use short, quick pencil strokes to create fur lines.
- Keep the fur thicker around the arms, shoulders, and legs.
- Vary the direction of the strokes to make it look natural.
Shading for Realism
To make your drawing more three-dimensional, use shading techniques:
- Hatch and cross-hatch for shadows.
- Blend with a stump or tissue for soft areas.
- Leave highlights on his face and chest to create contrast.
Good shading will make your drawing look more dynamic and lifelike.
Step 6: Final Touches and Details
Refining the Outline with Ink or Dark Pencil
Once you’re happy with your sketch, go over the final lines with a darker pencil or ink pen. This will make your drawing more defined and polished.
- Bolden the outline of his body
- Add details to his fingers and feet
- Make final adjustments to his eyes and expression
Enhancing the Background
To complete your artwork, add a simple or dramatic background. Some ideas:
- A cityscape with King Kong climbing a building
- A jungle setting with dense trees
- A battle scene with helicopters attacking him
Adding a background will enhance the storytelling aspect of your drawing.
Conclusion: Mastering the Art of Drawing King Kong
Drawing King Kong is a great exercise in capturing strength, emotion, and texture. By following these steps—starting with basic shapes, refining details, adding expressive features, and shading properly—you’ll create a powerful and dynamic King Kong illustration.
Remember, practice makes perfect. The more you draw, the better you’ll get at portraying the mighty King Kong with all his fury and grandeur. Keep refining your skills, experiment with different poses, and most importantly, have fun with your art!
So grab your sketchbook and let your inner artist bring the legendary beast to life. Happy drawing!